


Elevating Hair Care: Introducing BioProgramming Hair Tools at The Studio O
April 4, 2024
I’m Infatuated With This Highlighter by Rare Beauty
April 18, 2024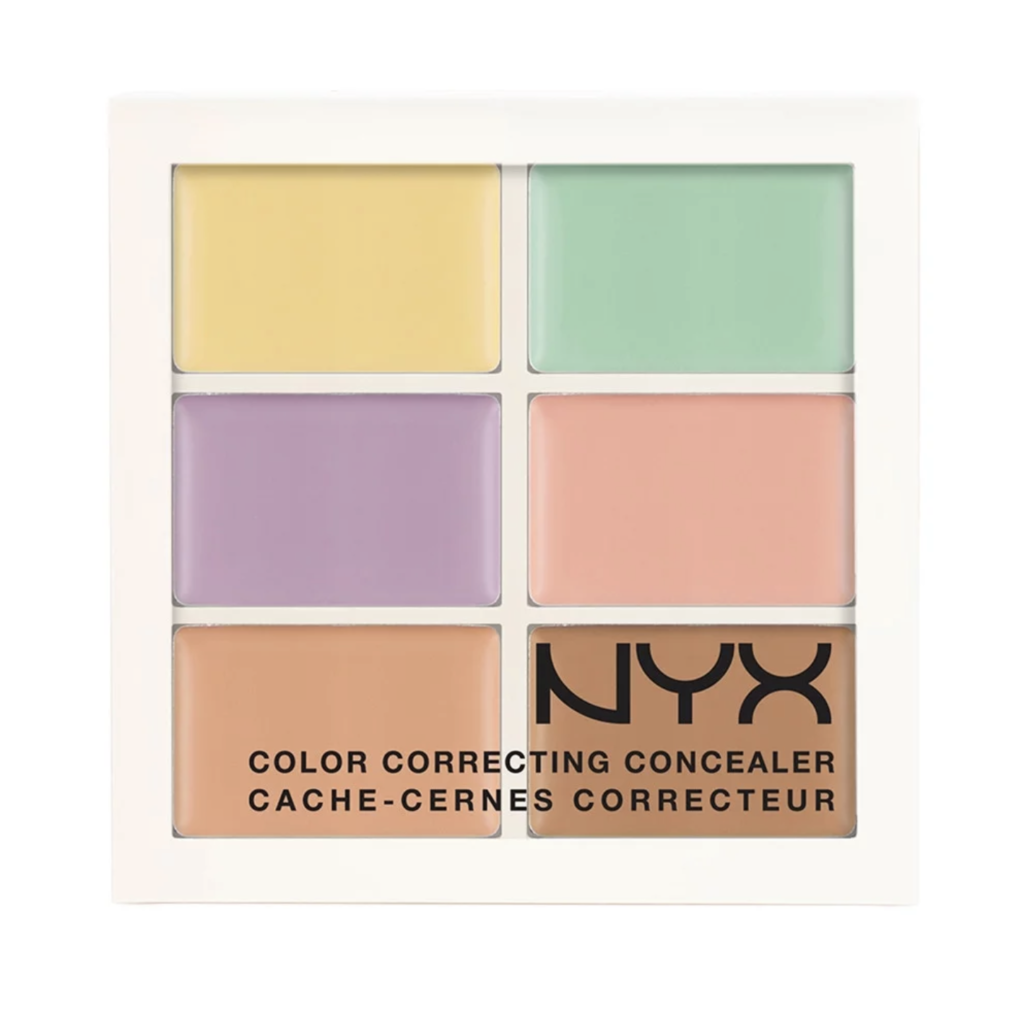
Hi, it’s Chrissy again with more makeup tips!
If you don’t know me, I work the front here at The Studio O, but I’m also a licensed cosmetologist with a love for makeup.
These are my personal tips, but we have a talented makeup artist crew here by the names of Angie and Laiza!
Book Your Makeup Appointment Here
If you have ever experienced putting on high coverage products, but you’re still seeing dark under-eyes, or maybe you have discoloration/sunspots/5 o’clock shadow… You may want to try out color correcting! The purpose of color correcting when it comes to complexion is to rid of any unwanted tones, without having to pack on a heavy concealer or foundation. You can disguise the shadow of acne scars which may help give a smoother appearance to the overall texture as well.
In my case, I will occasionally color correct my under-eyes since they are dark and blue no matter how well I sleep. I mostly do this in times I know I’ll be in harsh light or in lots of photos.
A couple of things to keep in mind:
– You will have to keep in mind your skin tone. For example, color correcting for fair skin vs. deep skin will still utilize the same rules of color theory, but not the same depth/darkness. I will explain this more later.
– Working in minimal, thin layers will create a more even texture. I recommend using a small concealer brush, since it will allow precision, coverage, and blended edges.
The Application Process
1) Apply the color correcting color. Allow it to dry a little by fanning it, or waiting for about 2-3 minutes. Allowing this first layer to dry is crucial to the effectiveness of color correcting. If you apply your complexion tone on directly on top of the correction tone right away, you might end up blending the two together. This may create undesired grey tones.
2) Apply your complexion tone atop. This would be your concealer or foundation. Use a patting motion to avoid spreading the correction too much.
3) Finish with a setting powder of your choice. This step will set in place all the hard work you just did.
To correct red or pink tones, use a light green correcting tone. This is where skin tone comes into play, if you have deeper skin, you can get away with using a more pigmented green.
To correct blue tones, use a light peachy (orange) correcting tone. If you are medium to deep, you can use terracotta. Blue is usually veins, facial hair shadows, or shadows from texture.
To correct yellow, use a light violet color. Unless you have very deep skin, I wouldn’t recommend using a darker violet, since it may be too dominant.
I’ve tried out a couple products, ranging from drug store to higher end brands:
– I enjoy the LA Girl Conceal Color Corrector, since it is very affordable, high pigment, and it dries matte. They make a great range of colors also. Found at drugstores and Ulta.
– I’ve tried the NYX Color Correcting palette also, however I find that with my oily skin and hot weather, it slides around too much for my skin type. I find the formula to be too thin, to the point where the pigment payoff is compromised. This would be better for someone with normal to dry skin with a fair skin tone.
– Stila Correct and Perfect All in One Palette: This one is a different price point than LA Girl and NYX, but I love the texture of it. It’s creamy, it has good pigment payoff, and it doesn’t move around with my oily skin. A little goes a long way with this one.
Happy Correcting!

